P5: Produce an offline edit of the promo
P6: Carry out post-production processes to edit the audio- visual material to produce the final product
Above is the video of me explaining some effects I used:
Time codes:
(00:15 - 01:40) Explaining how I added title and end credits screens.
(01:41 - 03:16) Explaining the different visual effects.
(03:17 - 04:27) Explaining the Audio
Time codes:
(00:15 - 01:40) Explaining how I added title and end credits screens.
(01:41 - 03:16) Explaining the different visual effects.
(03:17 - 04:27) Explaining the Audio
M3: Justify the visual and audio effects used within the promo
When creating my music video I had in mind the theme of making it an experimental piece that’s why I chose to add a lot of different effects as it’s supposed to seem random but still look good, this is my wacky experimental music video.
Mirror (00:38 - 00:43): The reason why I used the mirror effect is because I thought it was fit for the purpose of a music video as well as the experimental theme I was doing, I think it worked out quite well. I also used it since it’s something I saw being used in the industry by a video on youtube called “Mire. - Bury” which is fully recorded with this effect and that’s what largely inspired me to add this.

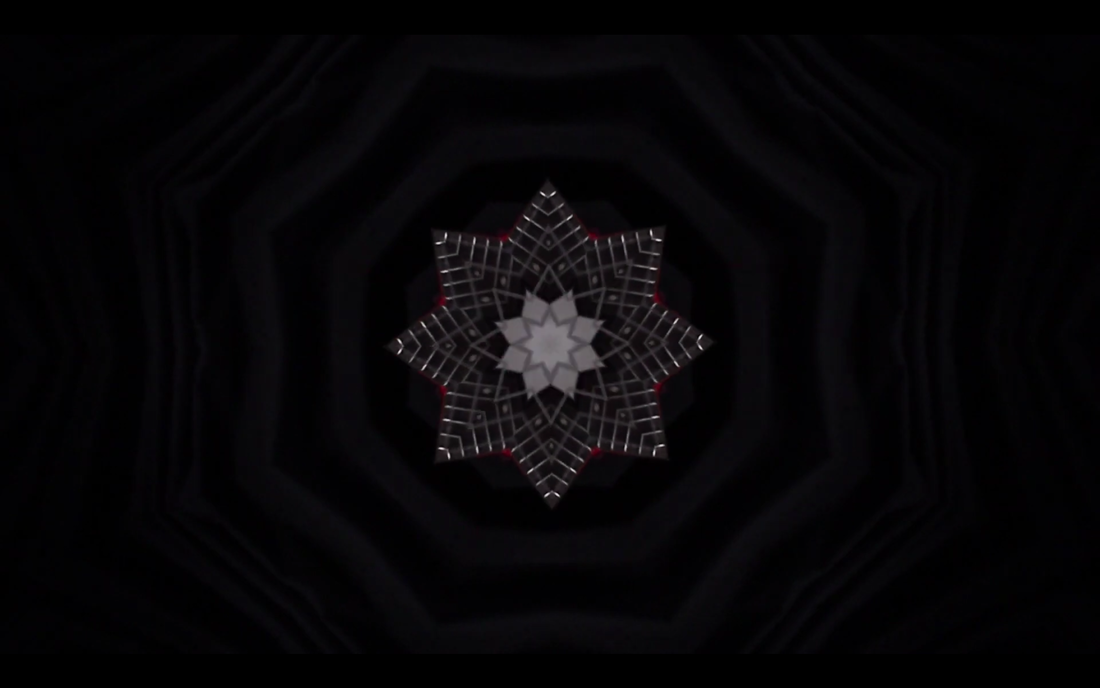
Kaleidoscope (01:34 - 01:44): I used the kaleidoscope effect as it encompasses my theme perfectly of being experimental and different when choosing this effect I was largely inspired by “The White Stripes - Seven Nation Army” as they had an effect that was a bit different as it was constantly zooming in which I thought looked good so I used the kaleidoscope as it creates a similar effect.

|
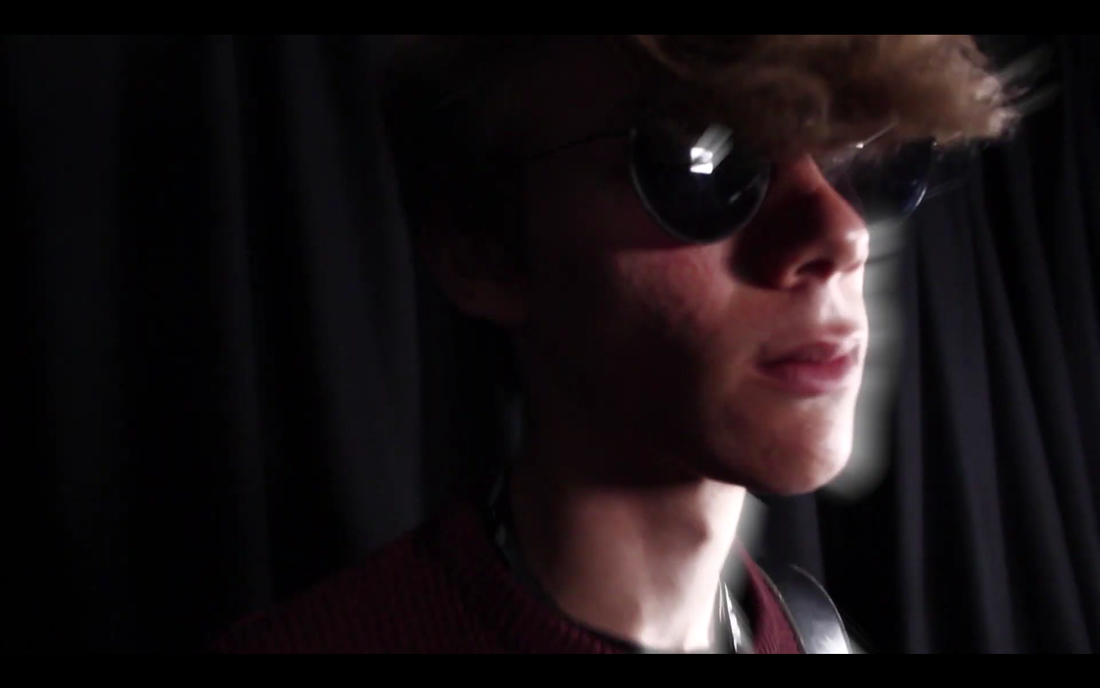
Glory (00:56 - 00:59): The reason I used the glory visual effect is because I thought it worked really well with the shot, and with my contributor looking forward it gave of a feeling of looking into the future and seeing a bright future ahead. This effect gave the contributor a white glow that was like a outline around him but only from the direction that the light was coming from which made it all the better since there was still the element of darkness which created a contrast of colours which worked in my favour. I have also seen a similar effect being used in other media products in the past such as Kid Ink - Delirious where they also had a glow around their contributors but their included colours whereas mine is just light based.

Tiles (01:13 - 01:16): I used the tile effect after being inspired by pop art where they use the exactly the same image but in different colours but for my product I chose to keep it all the same colour as I thought it looked better. This effect turned out quite well since I had two contributors in it which I think made it look better as you can see both of their movements in nine different images.
Sketch (01:44 - 01:56): The reason why I used the sketch effect is because I have seen it used before in products like take on me and I thought it looked well with the ending shot as it gives the shot a scruffy look which I think works well for a final shot, it still fits in with the running theme of the production that I chose which was experimental and it looks like a music video.
|
There were plenty of other effects that I also used which I added to my production because its conventional in a music video to add some post production techniques whether that’s black and white filter to give the video a noir look to it or just simple colour corrections, I was inspired by the music videos that include a lot of post production techniques in interesting ways that you wouldn’t regularly think of.
